
My first experience having a magic cookie bar was in college when my roommate’s mom would mail these elaborate care packages for us to share. What is the combination of coconut, chocolate, nuts all on a graham cracker crust!?!? I was overwhelmed to say the least. It was gooey goodness that helped us push through finals every single time she sent them. Thanks Ms. Patti!
I haven’t had a magic cookie bar in years, but when I agreed to participate in an Instagram Bake- A Long with @NYUTransfers I immediately knew that I would share the magic of these cookie bars for two reasons: 1) minimal equipment and 2) they are so easy to customize.
Jump to:

Ingredients
- graham crackers (approximately, see notes below)
- unsalted butter, melted
- sweetened condensed milk
- crushed pretzels
- m&ms
- chocolate chips
Equipment
- 9x13 pan
- Medium bowl
- Spoon/spatula
- Cooking spray
- Gallon size ziploc bag
- Parchment paper or aluminum foil
Why are they called Magic Cookies Bars?
I don’t know the actual answer to this question, but my guess is that these bars are so easy and so unbelievably good that it has to be magic. It literally doesn’t make any sense otherwise. This is a low stress, high reward kind of recipe.

How to Make Magic Cookies Bars
- Prep your Pan and Preheat the oven. You’ll line a 9x13 inch pan with aluminum foil or parchment paper and preheat the oven to 350ºF.
- Make the graham cracker cookie crust. Crush the graham crackers, toss them in a bowl with melted butter and press the cookies in an even layer on the bottom of the 9x13 pan.
- Pour the Sweetened condensed milk evenly over the cookie crust. This is the magic part!
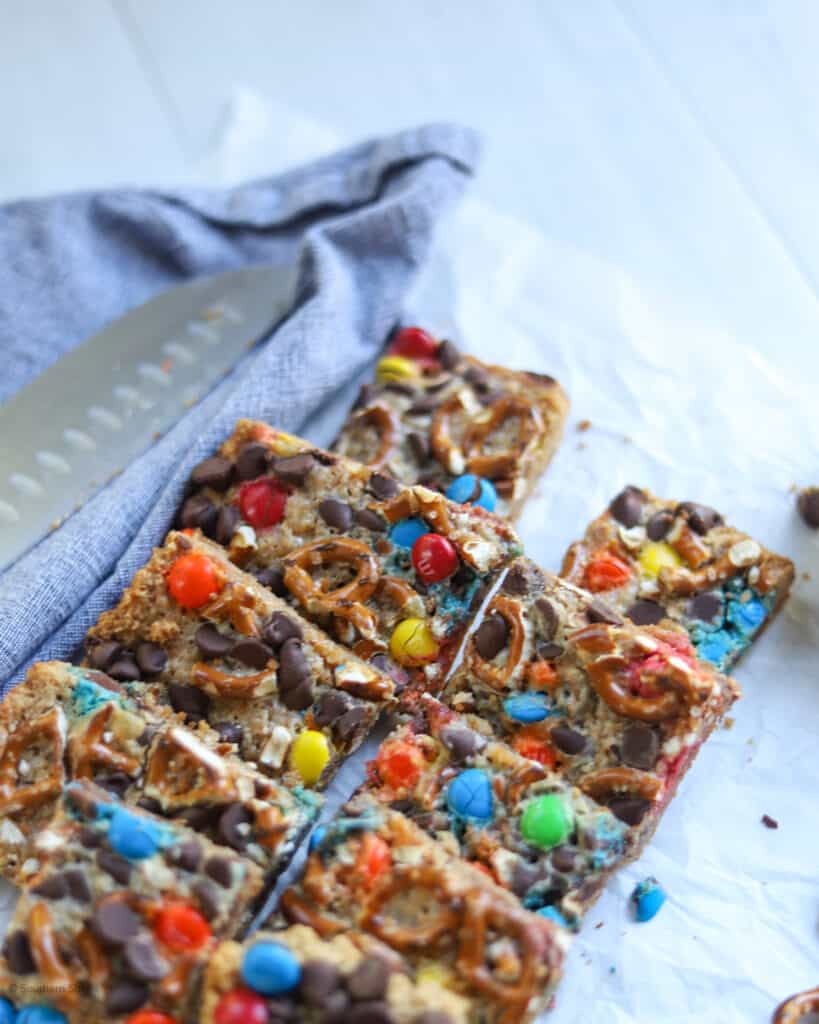
- Layer the toppings. Sprinkle the chocolate chips, m&ms and mini pretzels across the cookie crust.
- Bake. The baking time for magic cookie bars is 25 to 30 minutes.
- Cool and Slice. Cool the cookie bars in the pan. Use the parchment/foil overhang, pull the entire bar out of the pan and set it on a cutting board. Slice into 12 large bars or 24 mini bites.
Customizations/ Variations
Once you create the base of the cookie bar the variations are endless. The original version of a magic cookie bar involves nuts (pecans or walnuts), but since my daughter is allergic to nuts I make these allergy-friendly by swapping in pretzels as my “salty” item to balance out the sweetness of the chocolate chips and m&ms.

Other ideas to try:
- Classic: Chocolate Chips, pecans, shredded coconut
- Trail mix lovers: peanut butter chips, raisins, walnuts, m&ms
- Fruit Forward: Craisins, raisins, pecans and sliced almonds
- Kitchen Sink: Chocolate chip, pretzels, potato chips, butterscotch, caramels, almonds
- Rocky Road: Chocolate chip, toasted almonds, marshmallow
How to make Vegan Magic Cookie Bars:
Since my daughter is allergic to both milk and nuts, I’ve thought a lot about how to customize these for special diets. Since every element of this recipe is customizable, making these vegan is actually pretty straightforward:
- For the cookie base, choose an oreo crust. Because, did you know that Oreos are Vegan?
- Substitute regular butter with coconut oil or a margarine like Smart Balance
- There are options for non-dairy alternatives for the sweetened condensed milk. Typically they feature coconut or oat milk.
- Choose your toppings wisely. Nuts, raisins, coconut flakes, dried fruit and pretzels are good vegan options.

Looking for more dessert bar ideas?


Recipe
PrintRecipe

Magic Cookie Bars
- Total Time: 35 minutes
- Yield: 12 -24 cookie bars 1x
Description
An easy cookie bar recipes that is customizable and requires little equipment.
Ingredients
16 (268 grams) whole graham crackers
4 tablespoons unsalted butter, melted
1 14 oz can sweetened condensed milk
½ cup (25 grams) mini pretzels
½ cup (85 grams) m&ms
½ cup (85 grams) semi-sweet chocolate chips
Instructions
- Preheat the oven to 350ºF.
- Prepare the 9x13 pan. If you are using aluminum foil or parchment paper, line the pan so that the paper hangs over the sides allowing you to remove the bars from the pan when they are cooled. If you aren’t using foil or parchment paper, spray the pan with cooking spray and set aside.
- Put the graham crackers in the gallon sized ziploc bag and close it tightly. Crush the graham crackers in the bag (using a rolling pin, or even a canned good!) until the crackers resemble fine crumbs. Pour the crumbs in the bowl and then stir in the melted butter. The butter should moisten the crumbs, not drench them.
- Press the graham cracker crumb mixture into the baking pan. Make sure that the crust is evenly across.
- Open the can of sweetened condensed milk and pour it evenly across the graham cracker crust.
- Sprinkle even layers of pretzels, chocolate chips, m&ms and nuts on top.
- Bake for 25 to 30 minutes.
- Remove from the oven and let cool before slicing into bars.
- Prep Time: 10 minutes
- Cook Time: 25 minutes
- Category: Cookie Bars

Liz says
This recipe is so quick and easy and the end result is so so good! My favorite part is that you can use whatever toppings excite you, so you can really customize it with your favorite things!!