
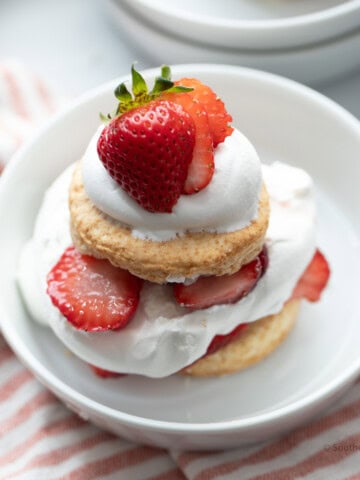
Y’all. I wouldn’t say that I am a biscuit snob. If I want a biscuit, there are few options that are acceptable, like a biscuit from Biscuitville. But I always prefer a batch of my homemade biscuits, especially first thing in the morning. Not having to leave the house is a huge bonus. A hot fresh from the oven buttermilk biscuit on a weekday is possible with a little advanced planning.
When using the freezer for food storage remember that the goal is to prevent freezer burn. Freezer burn is when food is damaged from dehydration and oxygen reaching the food. If you’ve ever found an old bag of frozen vegetables in the freezer, you know that the dehydration causes the food to shrivel up. In summary, air is the enemy. Cool. But never fear you can prevent freezer burn pretty easily.

Freezer Approach
For baked goods that have already been baked, I recommend a three layer approach. First wrap each item in a piece of plastic wrap, followed by a layer of aluminum foil and then put the item in a freezer safe bag.
When you are freezing baked goods that still need to bake like Chocolate Chip Cookie Dough or Buttermilk Biscuits, I recommend a quick flash freeze, and then using a freezer safe bag or container. The trick here is to make sure that you push all of the air out of the bag before you seal it.
Write it Down:
On the bag or container, make sure you write the date that the batch was made. That’s the easy part. The part that will take some planning is utilizing a FIFO method on your baking inventory. For those of you that aren’t besties with an accountant, FIFO means, First In, First Out. It sounds really straight forward, but success will depend on the system that you have set up in your freezer.
Currently, my system is my memory {so don’t take advice from me}. I’ve seen clever people attach a dry erase board to their freezer with a list of items and dates. This way they know what freezer item to grab first. So smart.
Double or Triple(!) Your Batch:
Seriously. Take out your calculator and multiply those recipes by two or three! If you’re going through the trouble of reading an article about freezing biscuits, scaling the recipe is just efficient. If for example your buttermilk is set to expire, go ahead and mix up a double batch of biscuits and now you didn’t waste money on the spoiled buttermilk. Bonus, now you have a bench of biscuits ready for breakfast on a whim.
Bake from Frozen
When you google “can you thaw biscuit dough” you get a variety of answers. Some sites say to thaw the biscuits, while others strongly suggest baking from frozen. I’ve never thawed a biscuit before baking because it goes against the basic tenet of biscuit baking: “everything must stay cold”. When I am ready to bake a couple of biscuits, I heat the oven and when it’s reached the right temperature that’s when I take the biscuits from the freezer and put them on a baking sheet.
Gather Your Supplies
To successfully freeze a batch of buttermilk biscuit y’all will need:
- Favorite buttermilk biscuit recipe. This recipe is our family’s go- to biscuit recipe.
- A gallon size freezer bag
- Parchment Paper
- Baking Sheet(s) that fit in your freezer.
- Sharpie/ Pen

How to Freeze Buttermilk Biscuits
1: Make your favorite buttermilk biscuit recipe.
- Skip the first step that says to preheat the oven.
- Line a large baking sheet with parchment paper.
- Follow the recipe to the part where you cut out the biscuits.
2. Flash Freeze!
Set the biscuit rounds onto the lined baking sheet, leaving a little space between each biscuit. Cover the baking sheet in plastic wrap and set the whole baking sheet in the freezer. Leave the biscuits in the freezer for 20- 30 minutes.
3. Label and Freeze.
Label the ziploc bag with the date, type of biscuits and the oven temperature, which should be about 25 degrees lower than the temperature written in the recipe. For example, if fresh biscuits are baked at 450ºF, then I write 425ºF on the freezer bag. Remove the baking sheet from the freezer and put the slightly frozen biscuits into the freezer bag. Make sure to push all of the air out of the bag before you seal it. Throw the bag in the freezer.

4: When you’re ready to bake:
For frozen buttermilk biscuits, reduce the oven temperature by Preheat the oven to the temperature on the ziploc bag. There is no need to defrost the buttermilk biscuits, when the oven is ready, place them on a baking sheet and bake for an additional 2-3 minutes.
Cheat Code:

If you have a toaster oven, you can very quickly and easily bake a small batch of biscuits. Since a toaster oven is much smaller it doesn’t take as long to preheat. On weekday mornings, I’ve been known to make two or three biscuits at a time.
Related
Looking for more biscuits recipes? Here are some to get you started.


Leave a Reply